Rendering App Store Screenshots with SwiftUI
 When given an option between doing something with a GUI or by typing a set of commands or writing code, I’ll typically choose the latter. Tools like TeX and OpenSCAD really make it feel like I have full control over the engine that drives the tool, unrestricted by the precision of a mouse or my ability to navigate a menu. Plus you can version control these types of files much easier than a the proprietary binary formats usually associated with GUI-based tools.
So, as someone not very adept with typical design tools like Figma or Photoshop, I found myself looking for something more code-based when getting ready to publish my first iOS app, PassKeepr.
The solution took a little while for me to come to, but seems obvious in hindsight now: just render a SwiftUI view into an image. This solution allows you to use all of the typical SwifUI controls to perfectly arrange your assets, text, background, etc., plus you can pull in all the customization options for text, gradients, shadows, etc. that come with SwiftUI.
So, to serve this goal of rendering SwiftUI views as images, I created a little MacOS app. Here’s a quick tutorial on how I got started with it:
Creating a basic view for an App Store screenshot
This part is pretty simple, and it’s really up to you how you want to arrange and customize the view to your liking. Mine ended up looking like this:
import SwiftUI

private let FRAME_WIDTH = 1320
private let FRAME_HEIGHT = 2868

struct ScreenshotView: View {
    var headerText: String
    var subtitleText: String
    var imageName: String // The name of an image added as an xcasset

    let maincolor: Color = .init(hex: 0x173C1C)
    let maincolortint2: Color = .init(hex: 0x456349)

    var body: some View {
        ZStack {
            LinearGradient(colors: [maincolortint2, maincolor], startPoint: .top, endPoint: .bottom)
                .ignoresSafeArea()
            VStack {
                Spacer()
                VStack {
                    Text(headerText)
                        .font(Font.system(size: 100))
                        .fontWeight(.bold)
                        .fontDesign(.rounded)
                        .foregroundStyle(Color.white)
                    Text(subtitleText)
                        .font(Font.system(size: 90))
                        .fontWeight(.bold)
                        .fontDesign(.rounded)
                        .foregroundStyle(Color.white)
                }
                Spacer()
                Image(imageName)
                    .resizable()
                    .scaledToFit()
                    .padding([.leading, .trailing, .bottom], 50)
            }
            .padding()
        }
        .frame(width: CGFloat(FRAME_WIDTH), height: CGFloat(FRAME_HEIGHT))
    }
}
Previewing the view in the Canvas
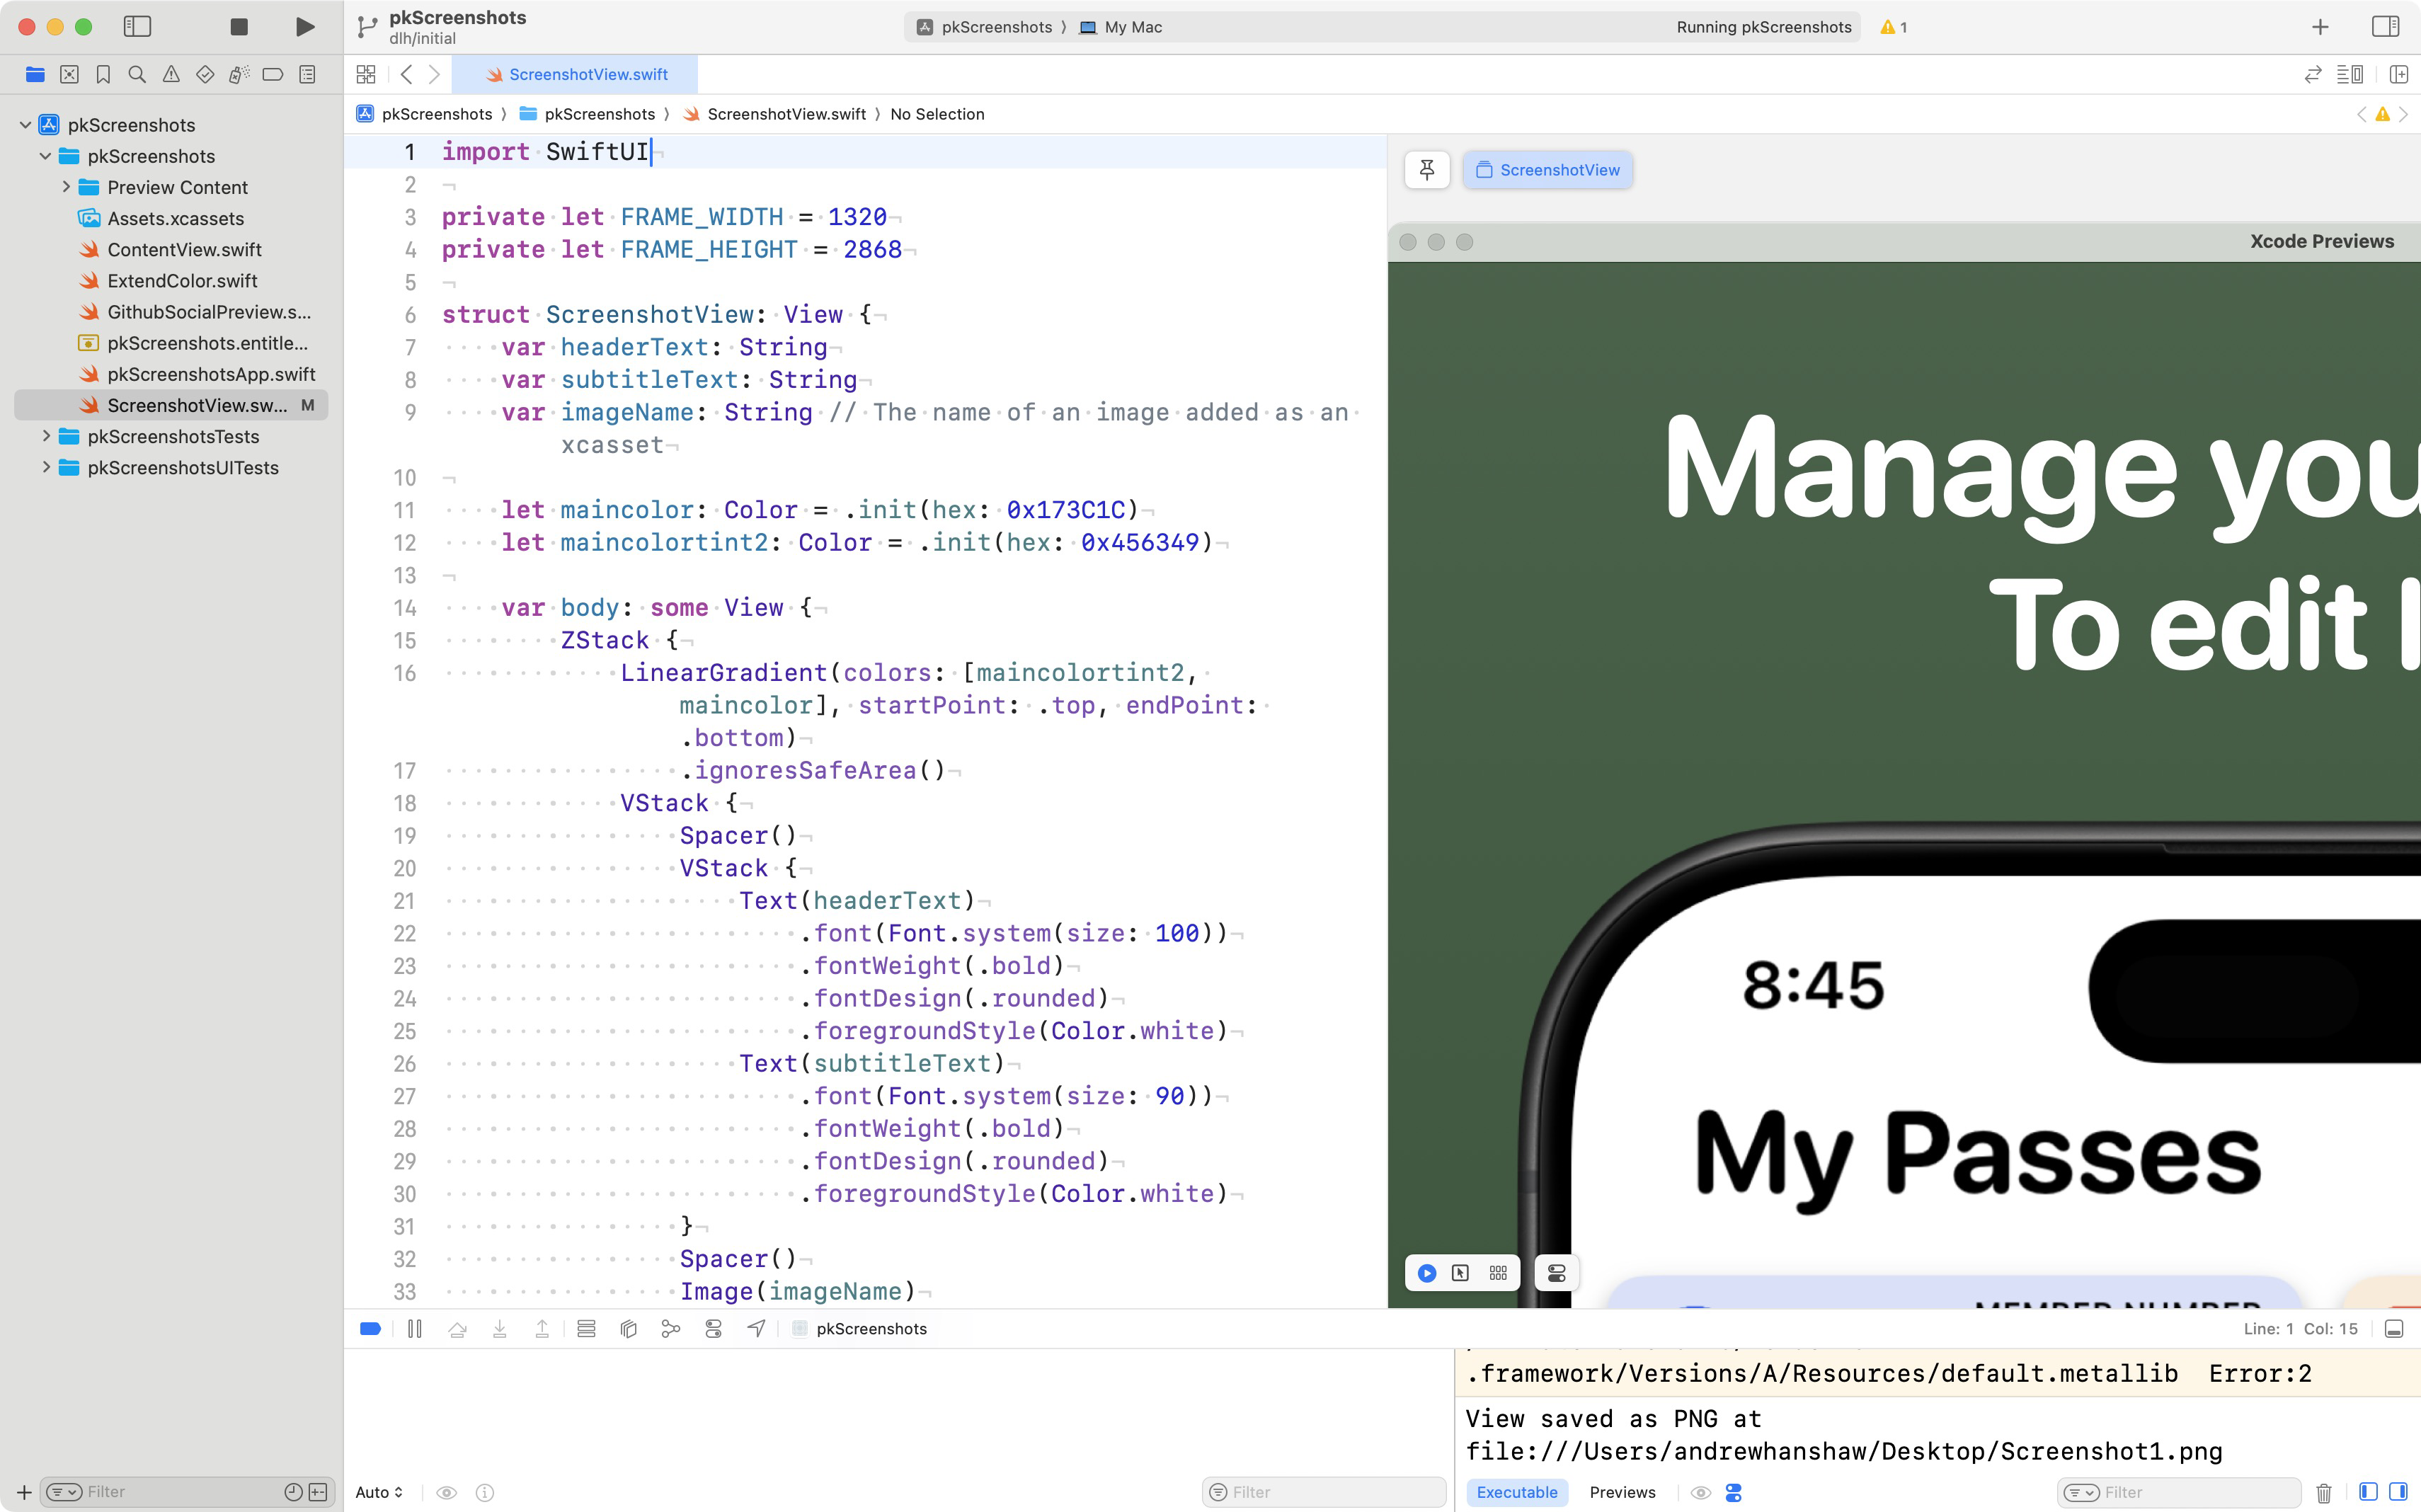
Since we are setting the frame to the exact dimensions of the image that we want to render, it will be previewed at those dimensions in the Canvas as well, which is much too large:

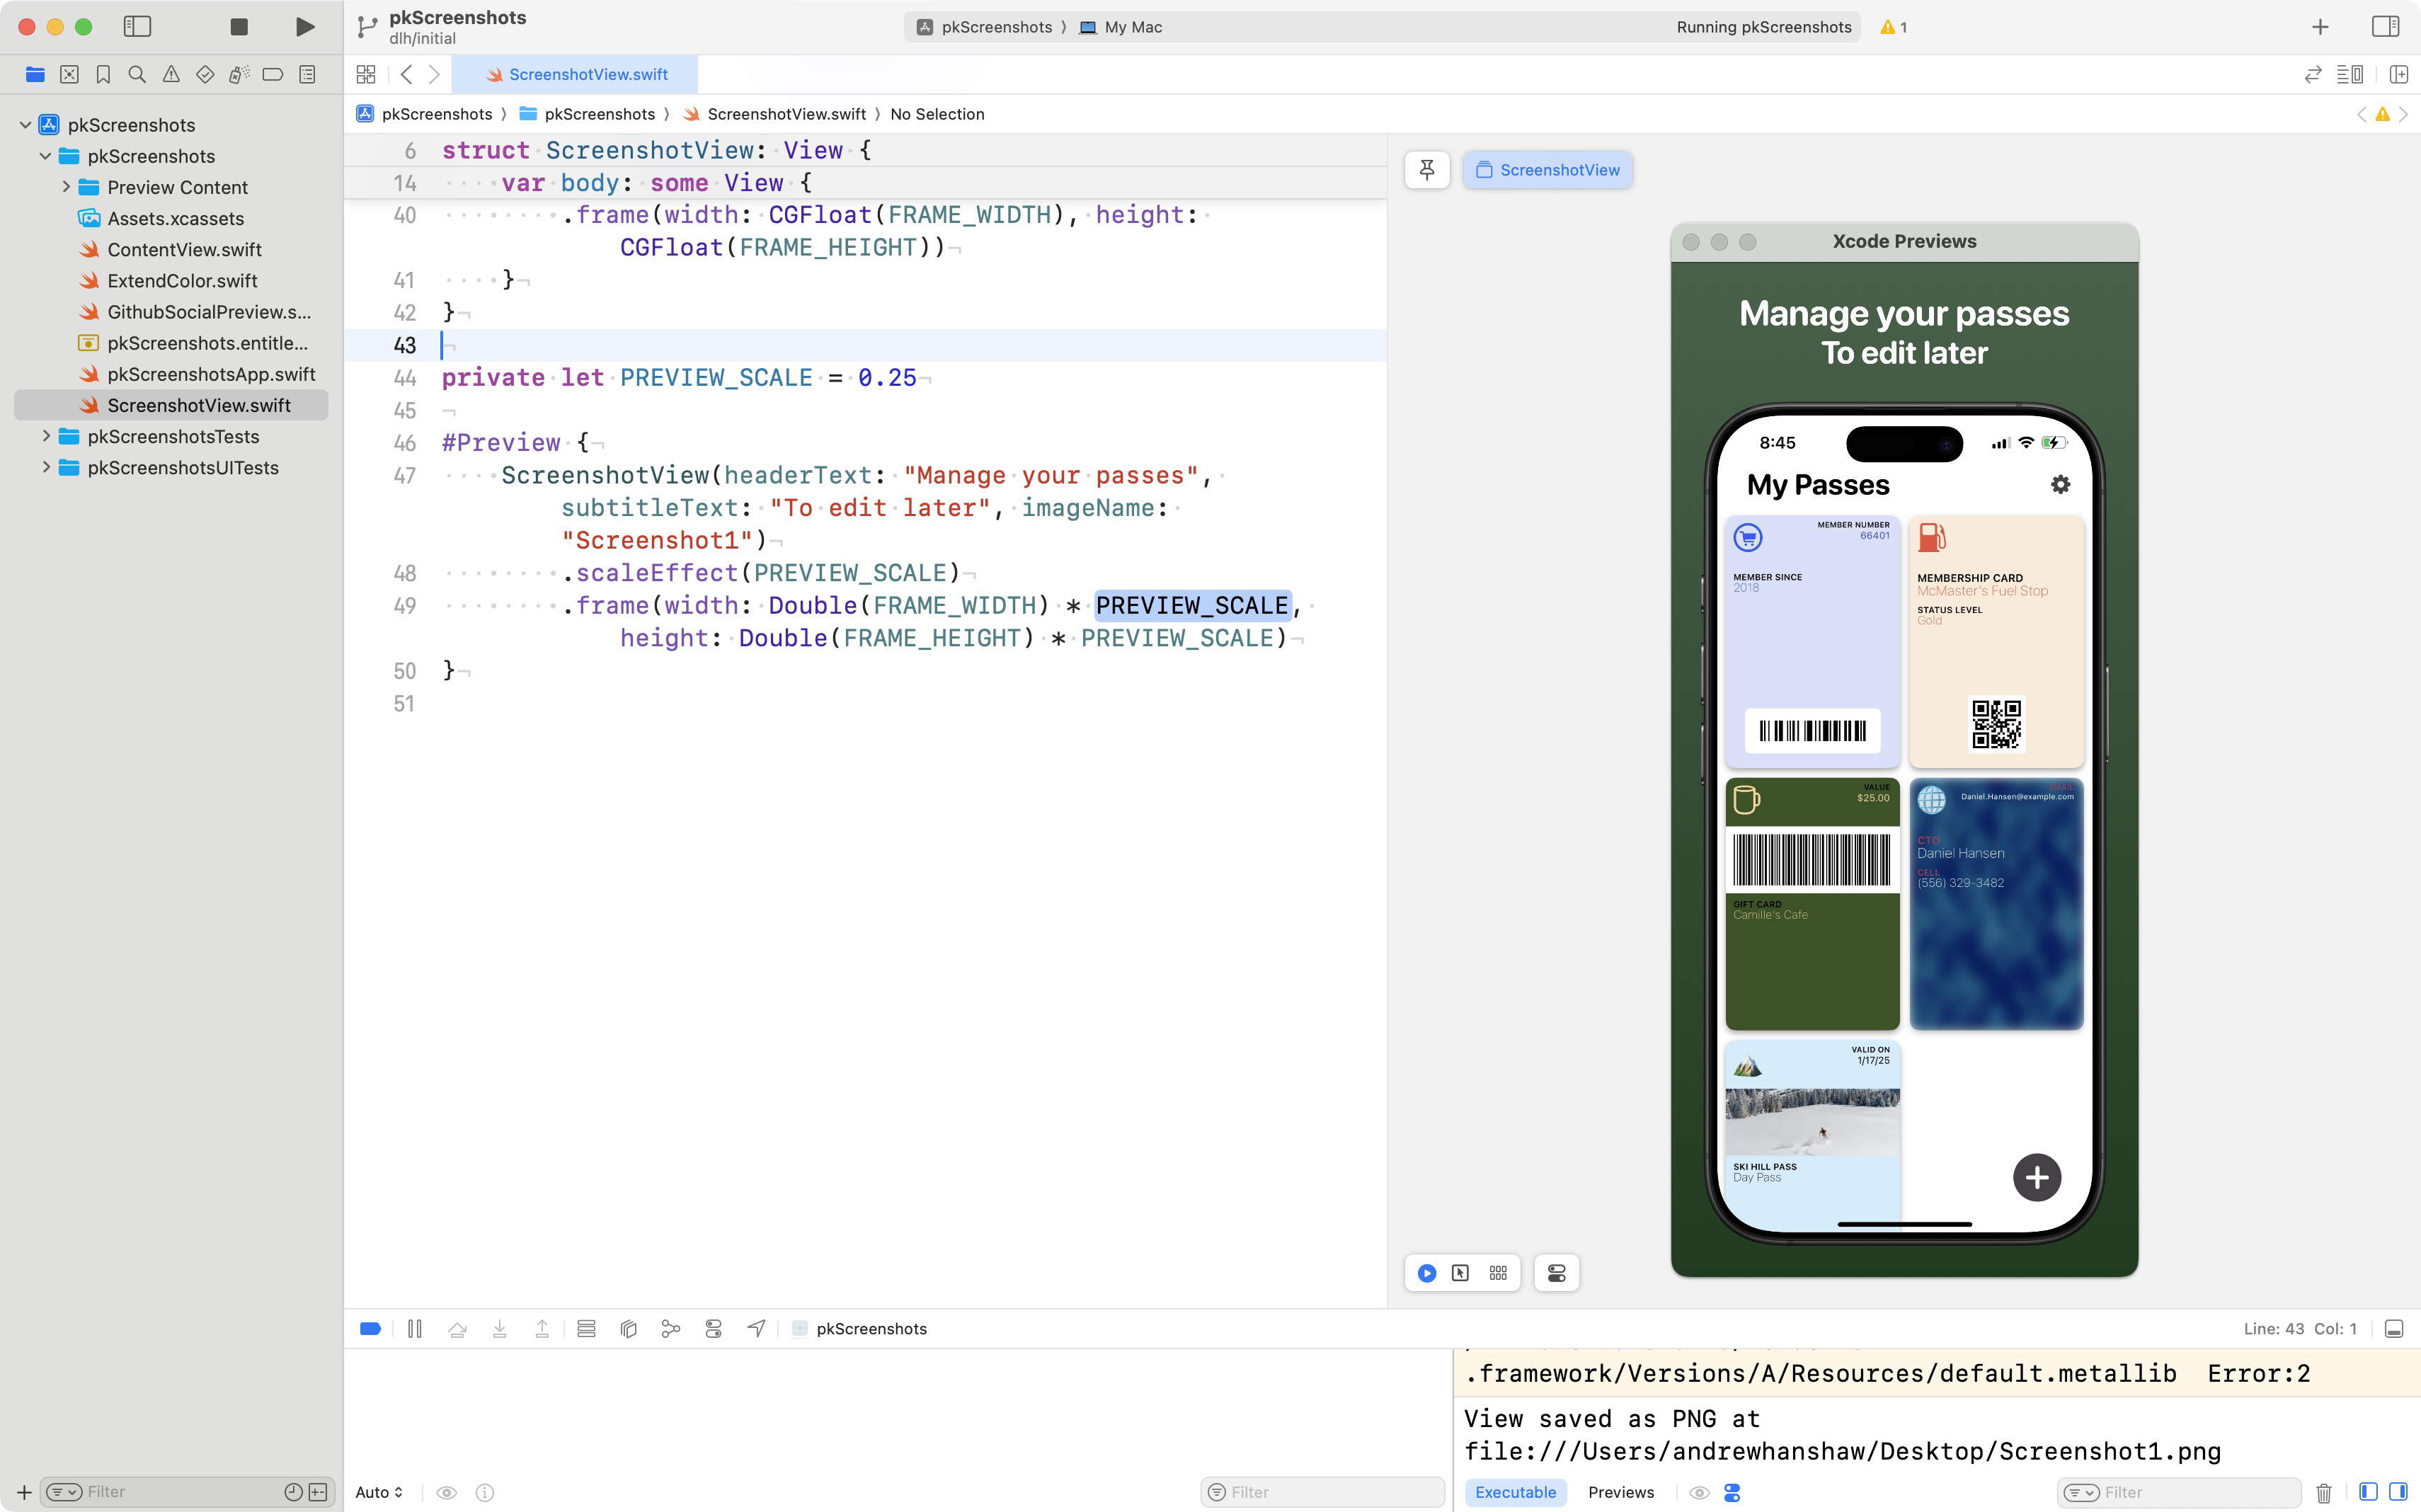
To fix this, the preview must be updated so both the view and the window that contains the view are scaled down:
private let PREVIEW_SCALE = 0.25

#Preview {
    ScreenshotView(headerText: "Manage your passes", subtitleText: "To edit later", imageName: "Screenshot1")
        .scaleEffect(PREVIEW_SCALE)
        .frame(width: Double(FRAME_WIDTH) * PREVIEW_SCALE, height: Double(FRAME_HEIGHT) * PREVIEW_SCALE)
}

Rendering a view to an image
Once the view is to your liking, you’ll need a way to save it as a .png. The following function uses SwiftUI’s ImageRenderer. The rendered cgImage can then be converted to a .png and saved wherever the user desires.
func saveViewAsPNG<V: View>(view: V, filename: String) {
        let renderer = ImageRenderer(content: view)

        if let image = renderer.cgImage {
            let bitmapRep = NSBitmapImageRep(cgImage: image)
            if let pngData = bitmapRep.representation(using: .png, properties: [:]) {
                let savePanel = NSSavePanel()
                savePanel.title = "Save PNG"
                savePanel.allowedContentTypes = [.png]
                savePanel.nameFieldStringValue = filename

                savePanel.begin { result in
                    if result == .OK, let saveURL = savePanel.url {
                        do {
                            try pngData.write(to: saveURL)
                            print("View saved as PNG at \(saveURL)")
                        } catch {
                            print("Failed to save PNG: \(error)")
                        }
                    }
                }
            } else {
                print("Failed to create PNG data.")
            }
        } else {
            print("Failed to render view as image.")
        }
    }
Wrapping it up into an app
From here, a basic main view with a save button to render each screenshot can be added, and it’s done! A simple little app to render SwiftUI views as images.
struct ContentView: View {
    var body: some View {
        Button("Save screenshot 1") {
            saveViewAsPNG(view: ScreenshotView(headerText: "Manage your passes", subtitleText: "To edit later", imageName: "Screenshot1"), filename: "Screenshot1")
        }
        .padding()

        Button("Save screenshot 2") {
            saveViewAsPNG(view: ScreenshotView(headerText: "Customize Passes", subtitleText: "To create unique cards", imageName: "Screenshot2"), filename: "Screenshot2")
        }
        .padding()

        Button("Save screenshot 3") {
            saveViewAsPNG(view: ScreenshotView(headerText: "Scan existing cards", subtitleText: "And save them digitally", imageName: "Screenshot3"), filename: "Screenshot3")
        }
        .padding()
    }
}
Github social preview
After the app screenshots were done, I tried to find some more places to apply this setup. I found the GitHub social media preview, which asks for images with specific dimensions for use when sharing your repo across various social media sites. I could have spent however long it took to fumble through designing and perfecting the layout for my App’s social media preview, or… I could add another view to the screenshots app! Here’s what I came up with:
import SwiftUI

private let FRAME_WIDTH = 1280
private let FRAME_HEIGHT = 640
private let PREVIEW_SCALE = 0.25

struct GithubSocialPreview: View {
    let backgroundcolor1: Color = .init(hex: 0x173C1C)
    let backgroundcolor2: Color = .init(hex: 0x102A13)
    let textColor: Color = .init(hex: 0x88BD8F)

    var body: some View {
        ZStack {
            LinearGradient(colors: [backgroundcolor1, backgroundcolor2], startPoint: .top, endPoint: .bottom)
                .ignoresSafeArea()
            HStack {
                Image("RoundedAppIcon")
                    .resizable()
                    .scaledToFit()
                    .padding(60)
                Spacer()
                Text("PassKeepr")
                    .font(.system(size: 200)) // Start with a very large font size
                    .lineLimit(1) // Ensure the text stays on one line
                    .minimumScaleFactor(0.1) // Allow scaling down to fit
                    .fontWeight(.bold)
                    .fontDesign(.rounded)
                    .foregroundStyle(textColor)
                    .shadow(radius: 5.0)
                    .padding(.trailing, 60)
            }
            .padding()
        }
        .frame(width: CGFloat(FRAME_WIDTH), height: CGFloat(FRAME_HEIGHT))
    }
}

#Preview {
    GithubSocialPreview()
        .scaleEffect(PREVIEW_SCALE)
        .frame(width: Double(FRAME_WIDTH) * PREVIEW_SCALE, height: Double(FRAME_HEIGHT) * PREVIEW_SCALE)
}
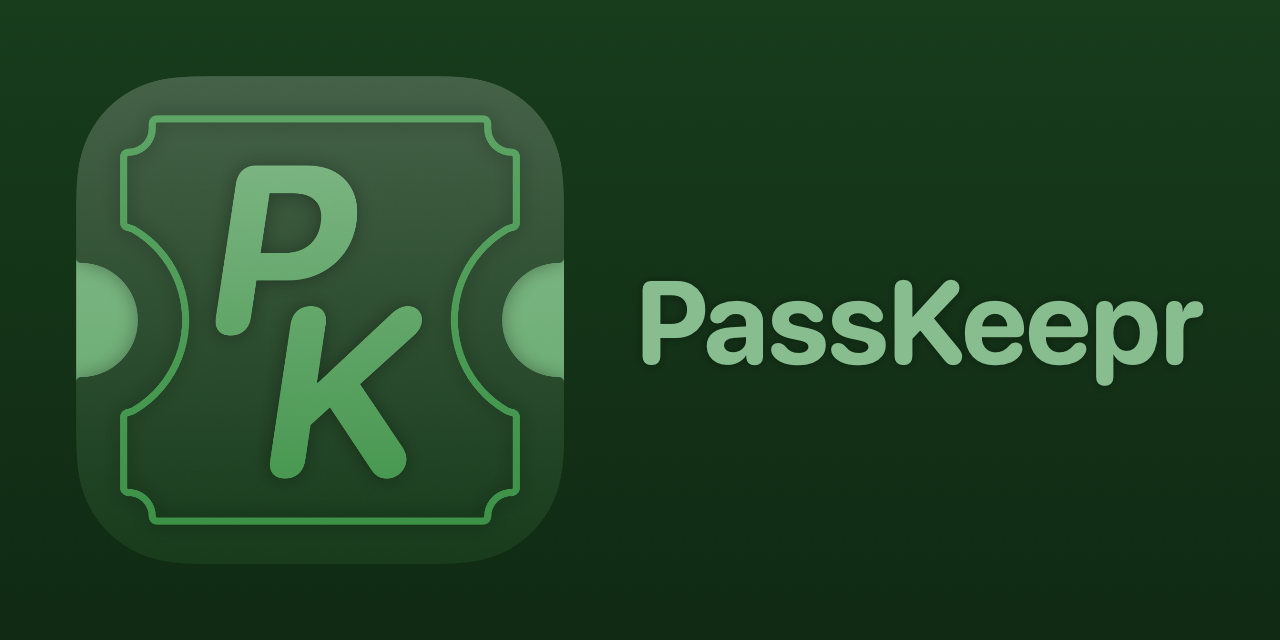
Which looks like:

Pretty nice for a couple-dozen lines of code, I think.